

![]()
I have assisted Tony with several log transfers over the years and they can prove to be tricky and sticky. Every log split offers its own challenges.
Grab some tools and equipment
Sledge hammer, metal/wooden wedges, wrecking bar, axe, hammer, saw, knife, hive tool, roll of glad wrap, sticky tape, strapping to secure log, bee net, empty net- you might not need all of these items but always handy if you have them near by rather than having to search for them in the garage when you are covered in bees!!
Bucket of water to wash your hands and tools throughout the process.
Firstly find any crack lines in your log, these lines will make it easier when splitting the log .
Wedge a wooden or metal wedge in any crack lines, using a sledge hammer , hammer the wedge several times. Do the same on the other side of the log. Keep adding more wedges to the crack as the log slowly opens up.
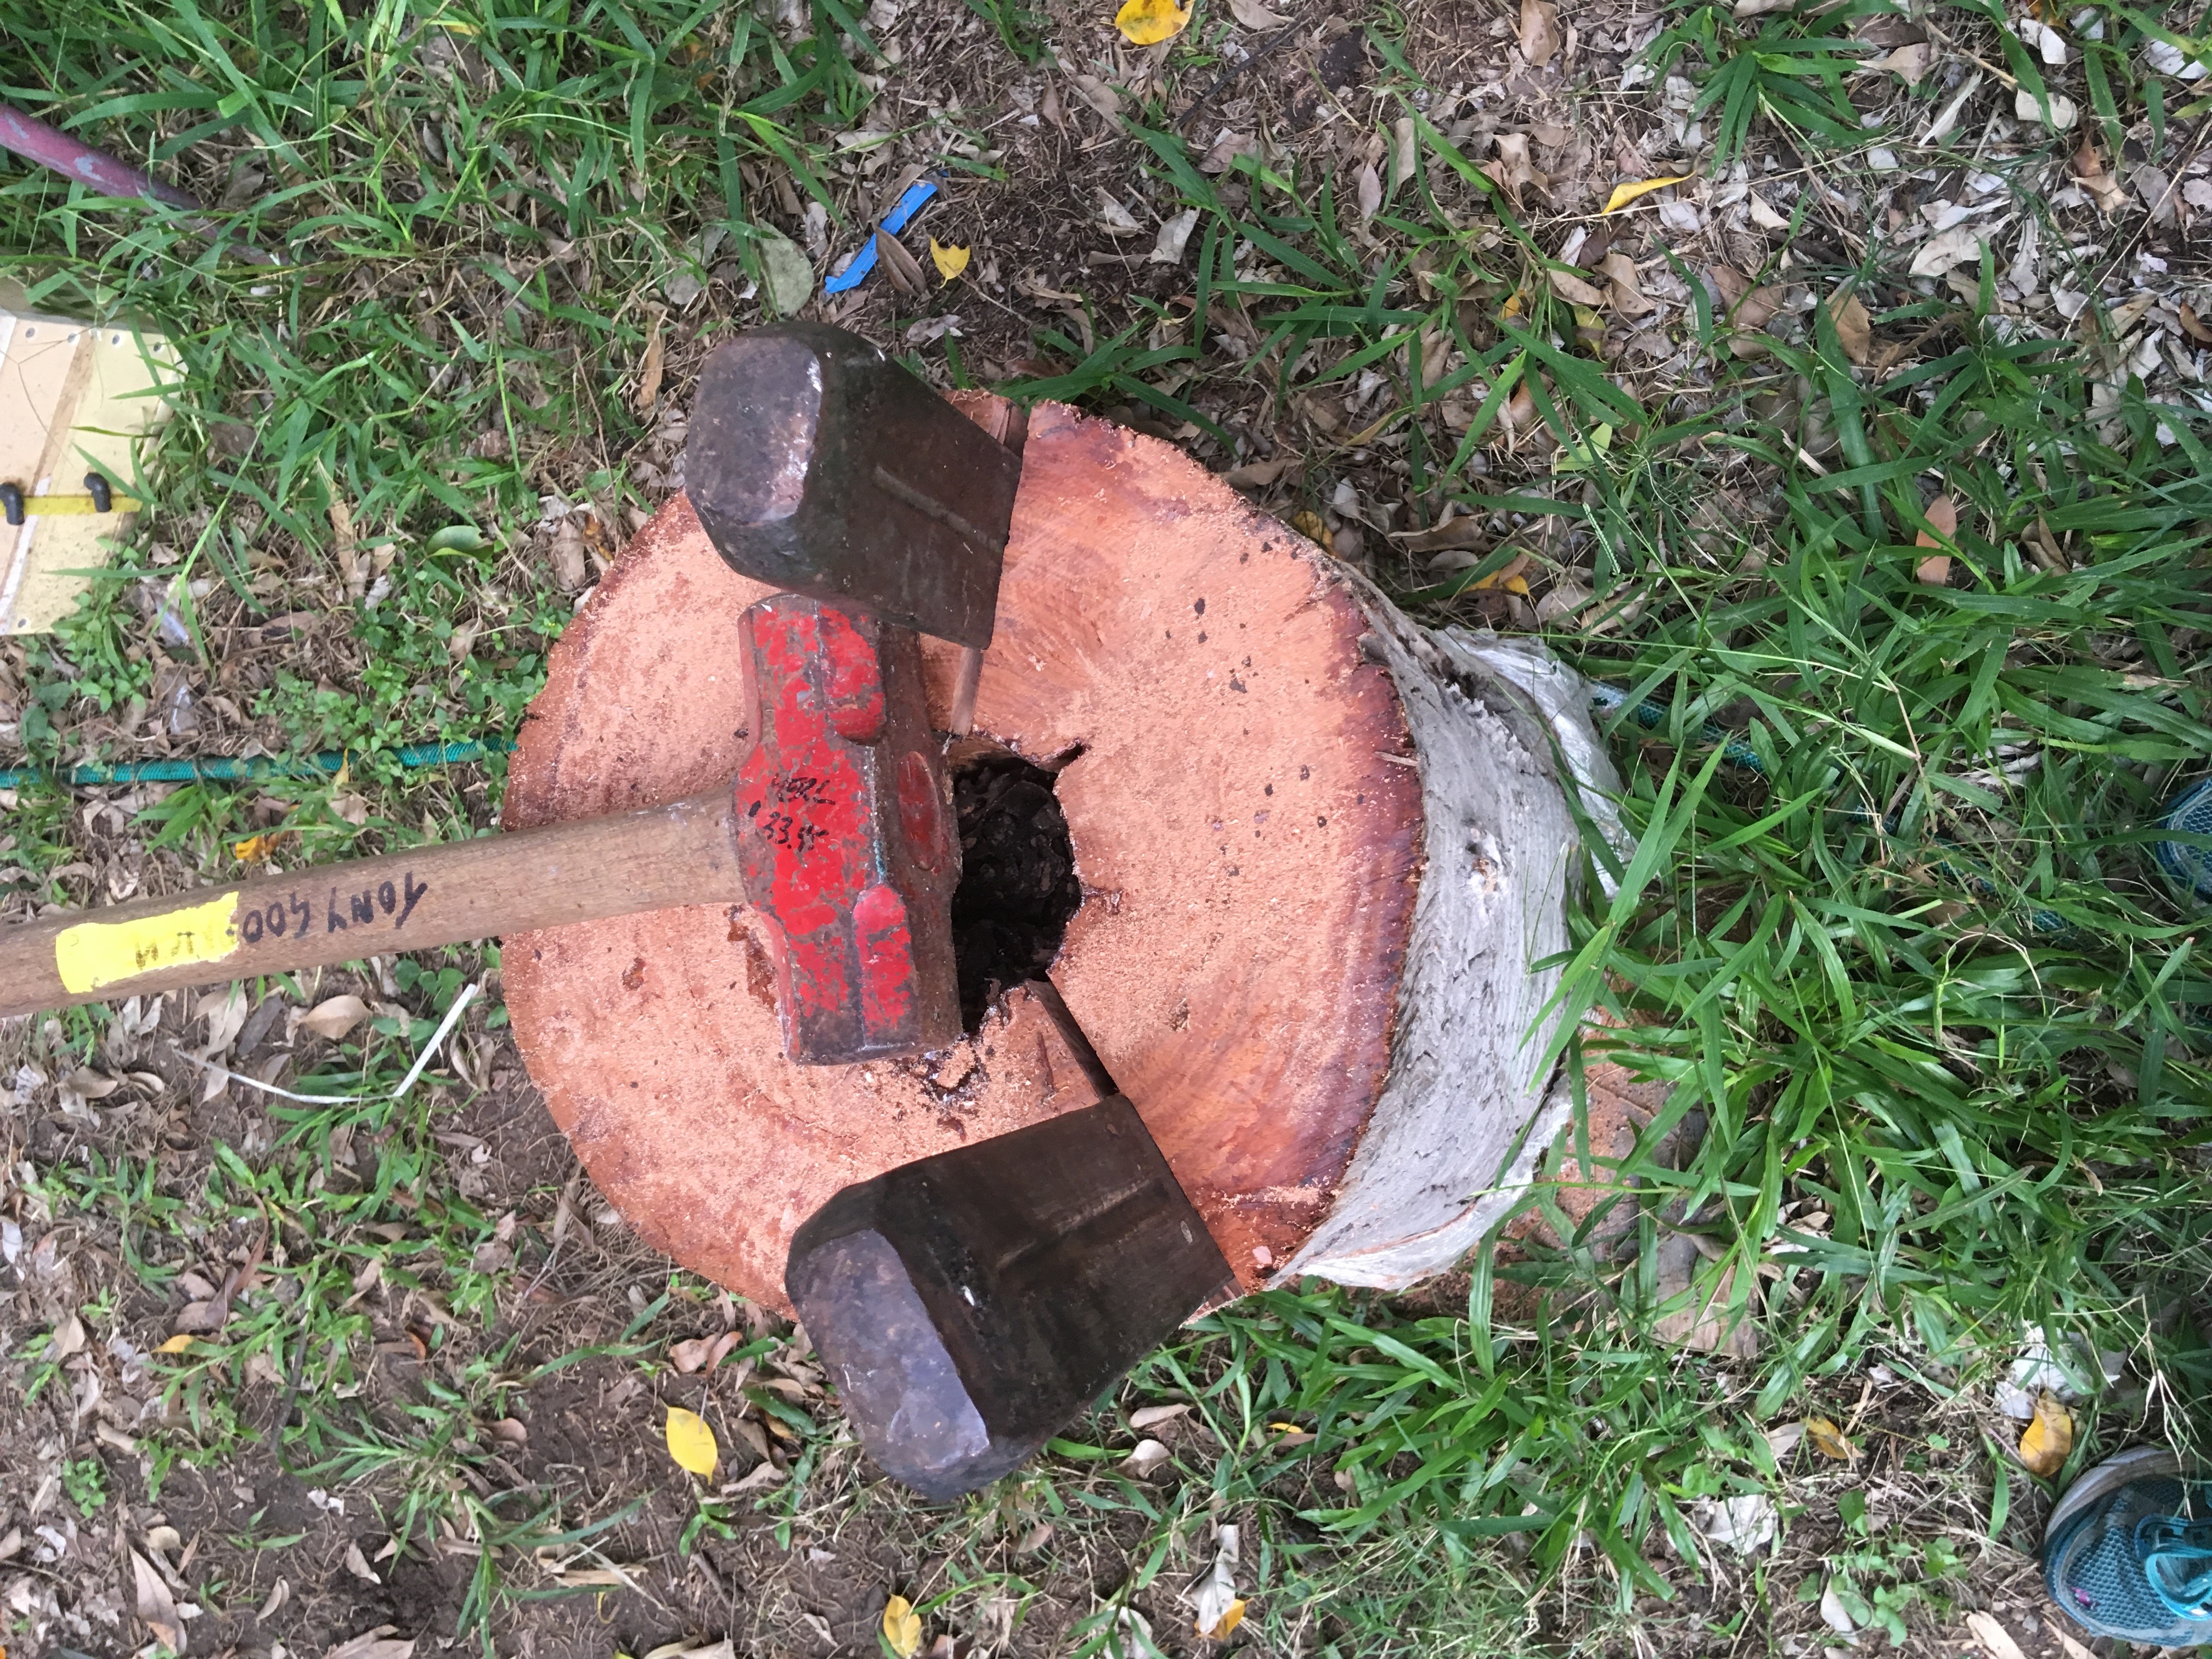
Image 1
Metal wedges inserted into crack lines using a sledge hammer
Once the log has split it may be easier to lay the 2 parts of the log down to gain access to the brood. The brood may be exposed or be enclosed in the involucrum (layers of soft propolis around the brood).
 Image 2
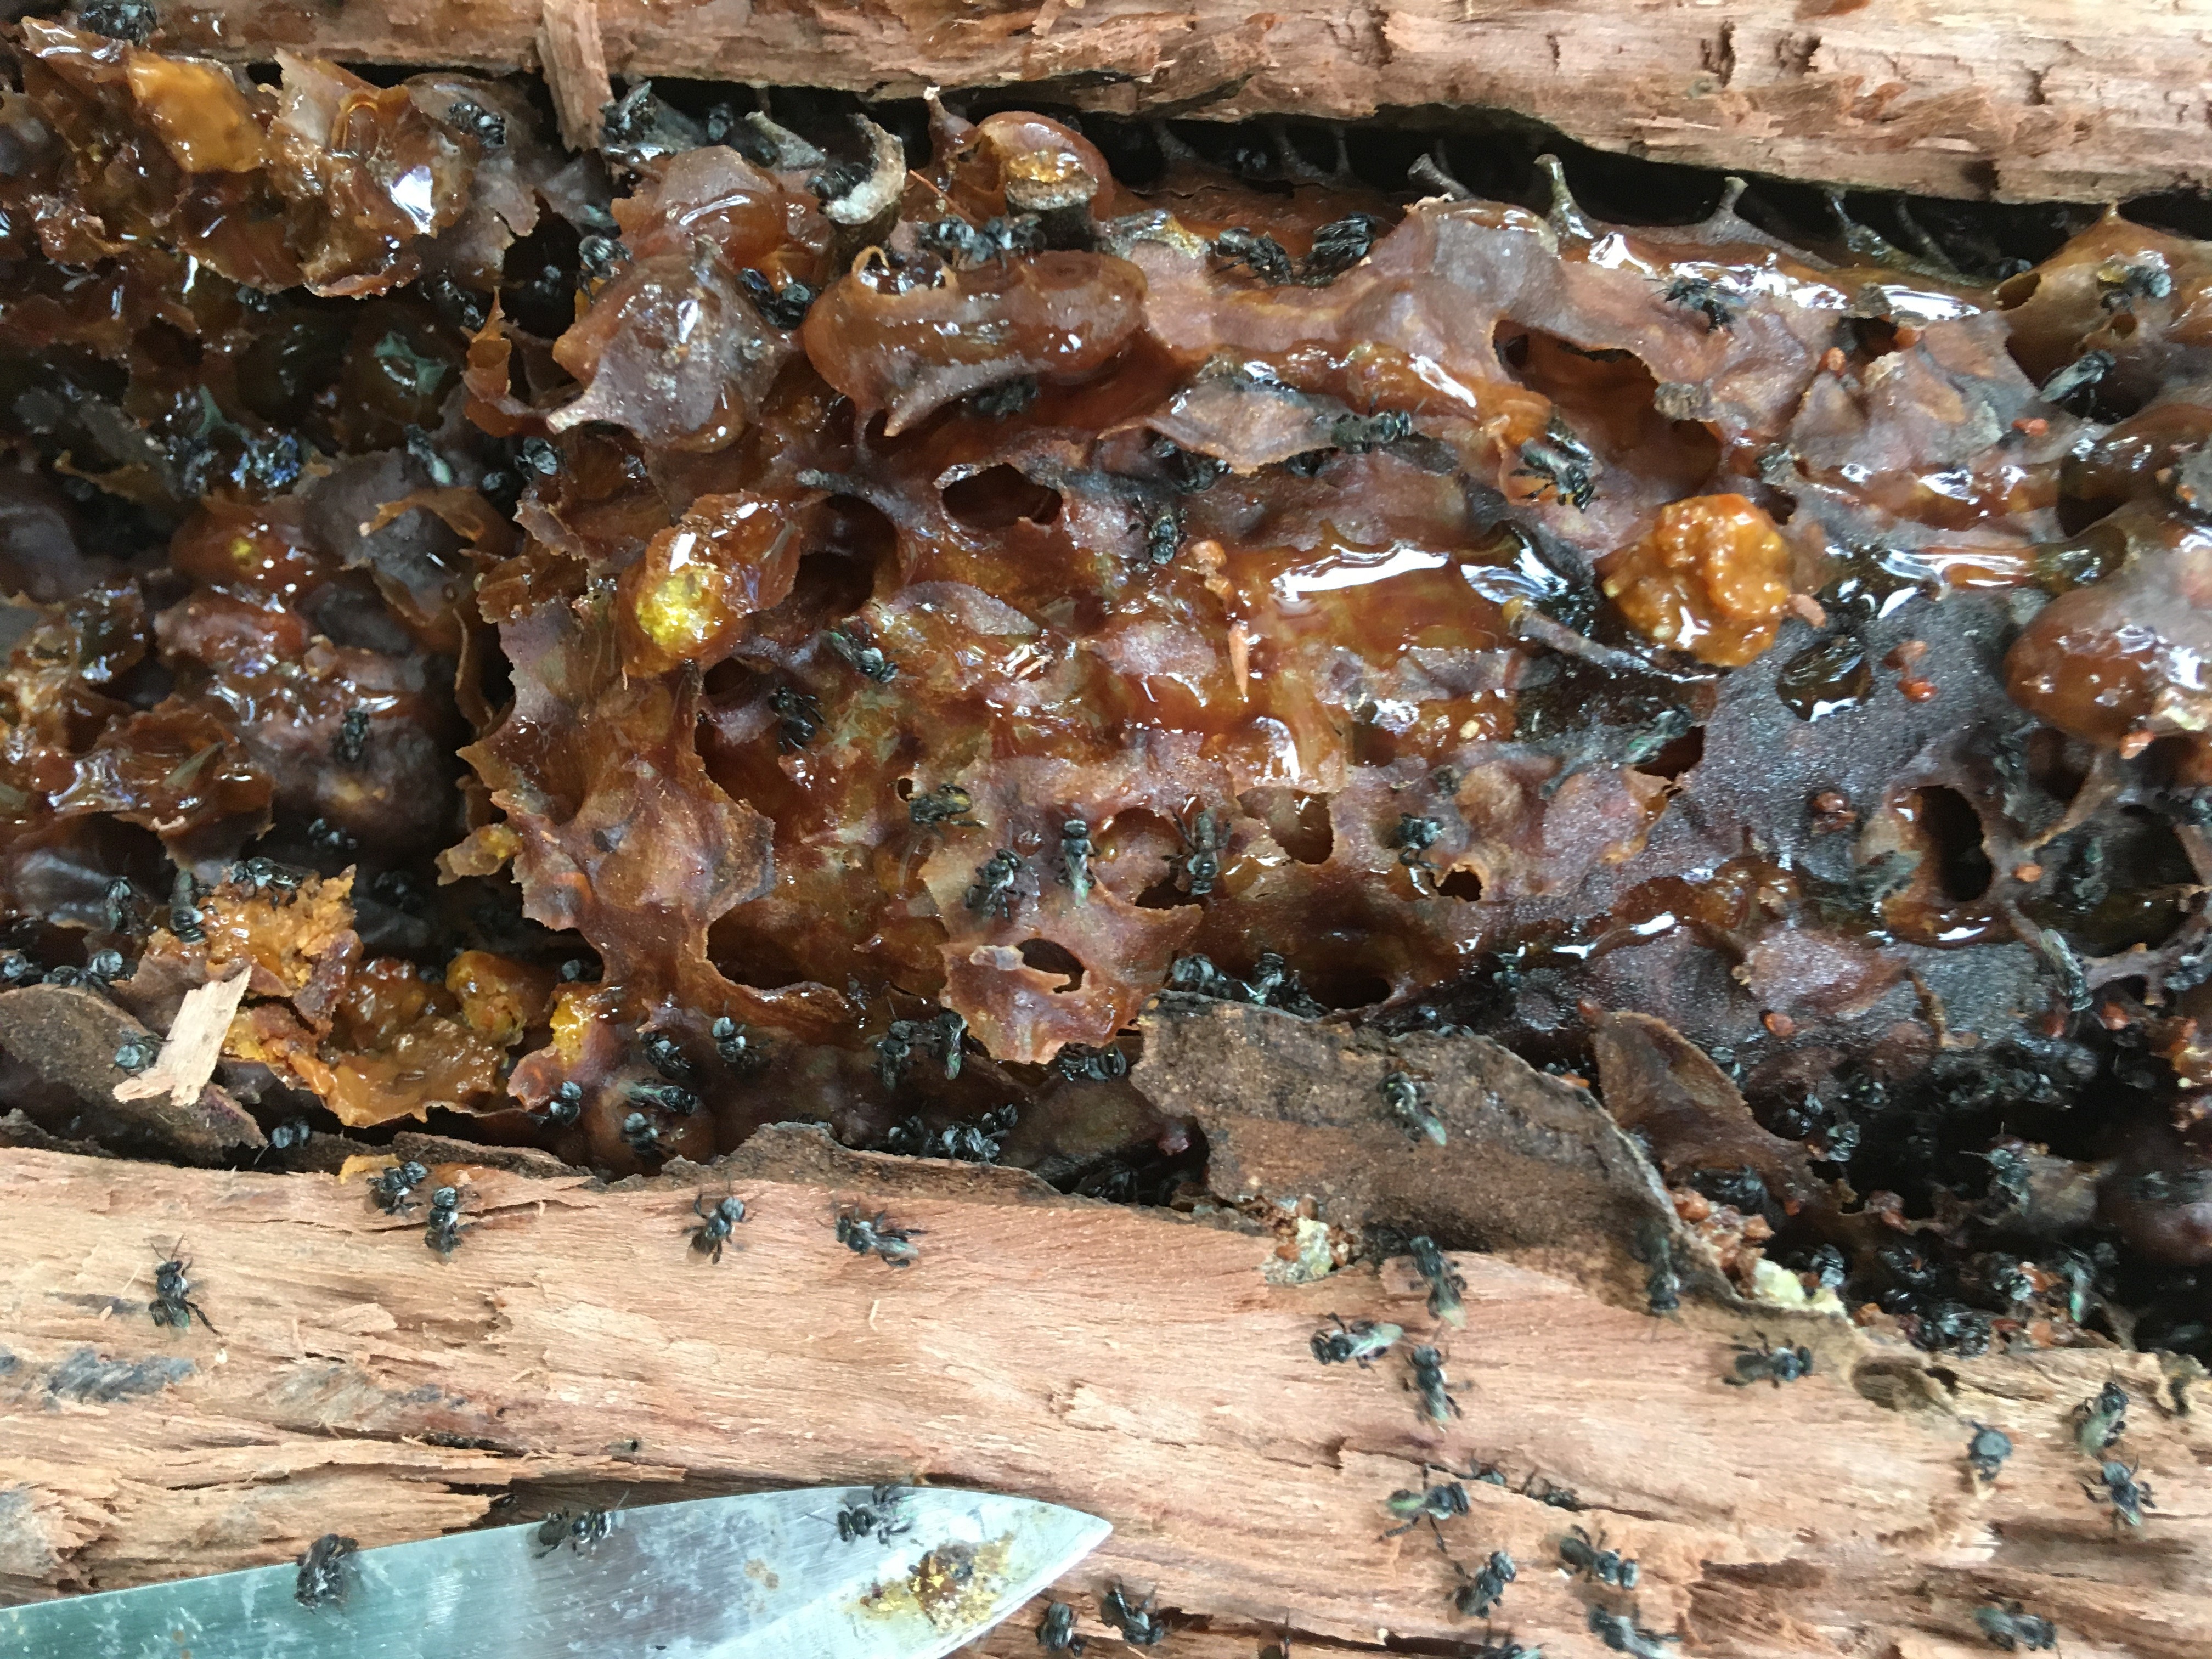
The brood chamber is enclosed in the involucrum.
After identifying where the brood chamber is, use a knife to gently cut out the brood. Handle the brood with care, remember that the brood chamber is soft and fragile and will damage easily.
Now this is the clever part…
If you leave some brood in the log, the log will most likely regenerate and you will be able to split again from the log in the future. Next log transfer will be quicker and easier as the hard work has been done.
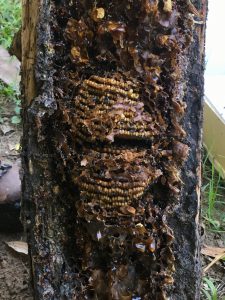 Image 3

Example of exposed brood
Place the brood in the centre of the bottom section of the empty hive If the brood chamber is significant in size you might be able to divide the brood into 2 boxes. Thus creating 2 colonies. Place a small quantity of pollen cells (approx 2-3 tablespoons)and a smackeral of honey( only fully enclosed honey pots) into the bottom section of the hive.
Do not add broken honey pots as this will attract other insects that may invade and destroy your log transfer. Spilt honey can also drown the bees.
Place the empty top on the bottom section of the hive, ensuring that you do not squash the brood. Wrap the join with sticky tape and then using strapping tapes secure the hive. Add propolis to the entrance of the hive. Record the date of transfer for the future
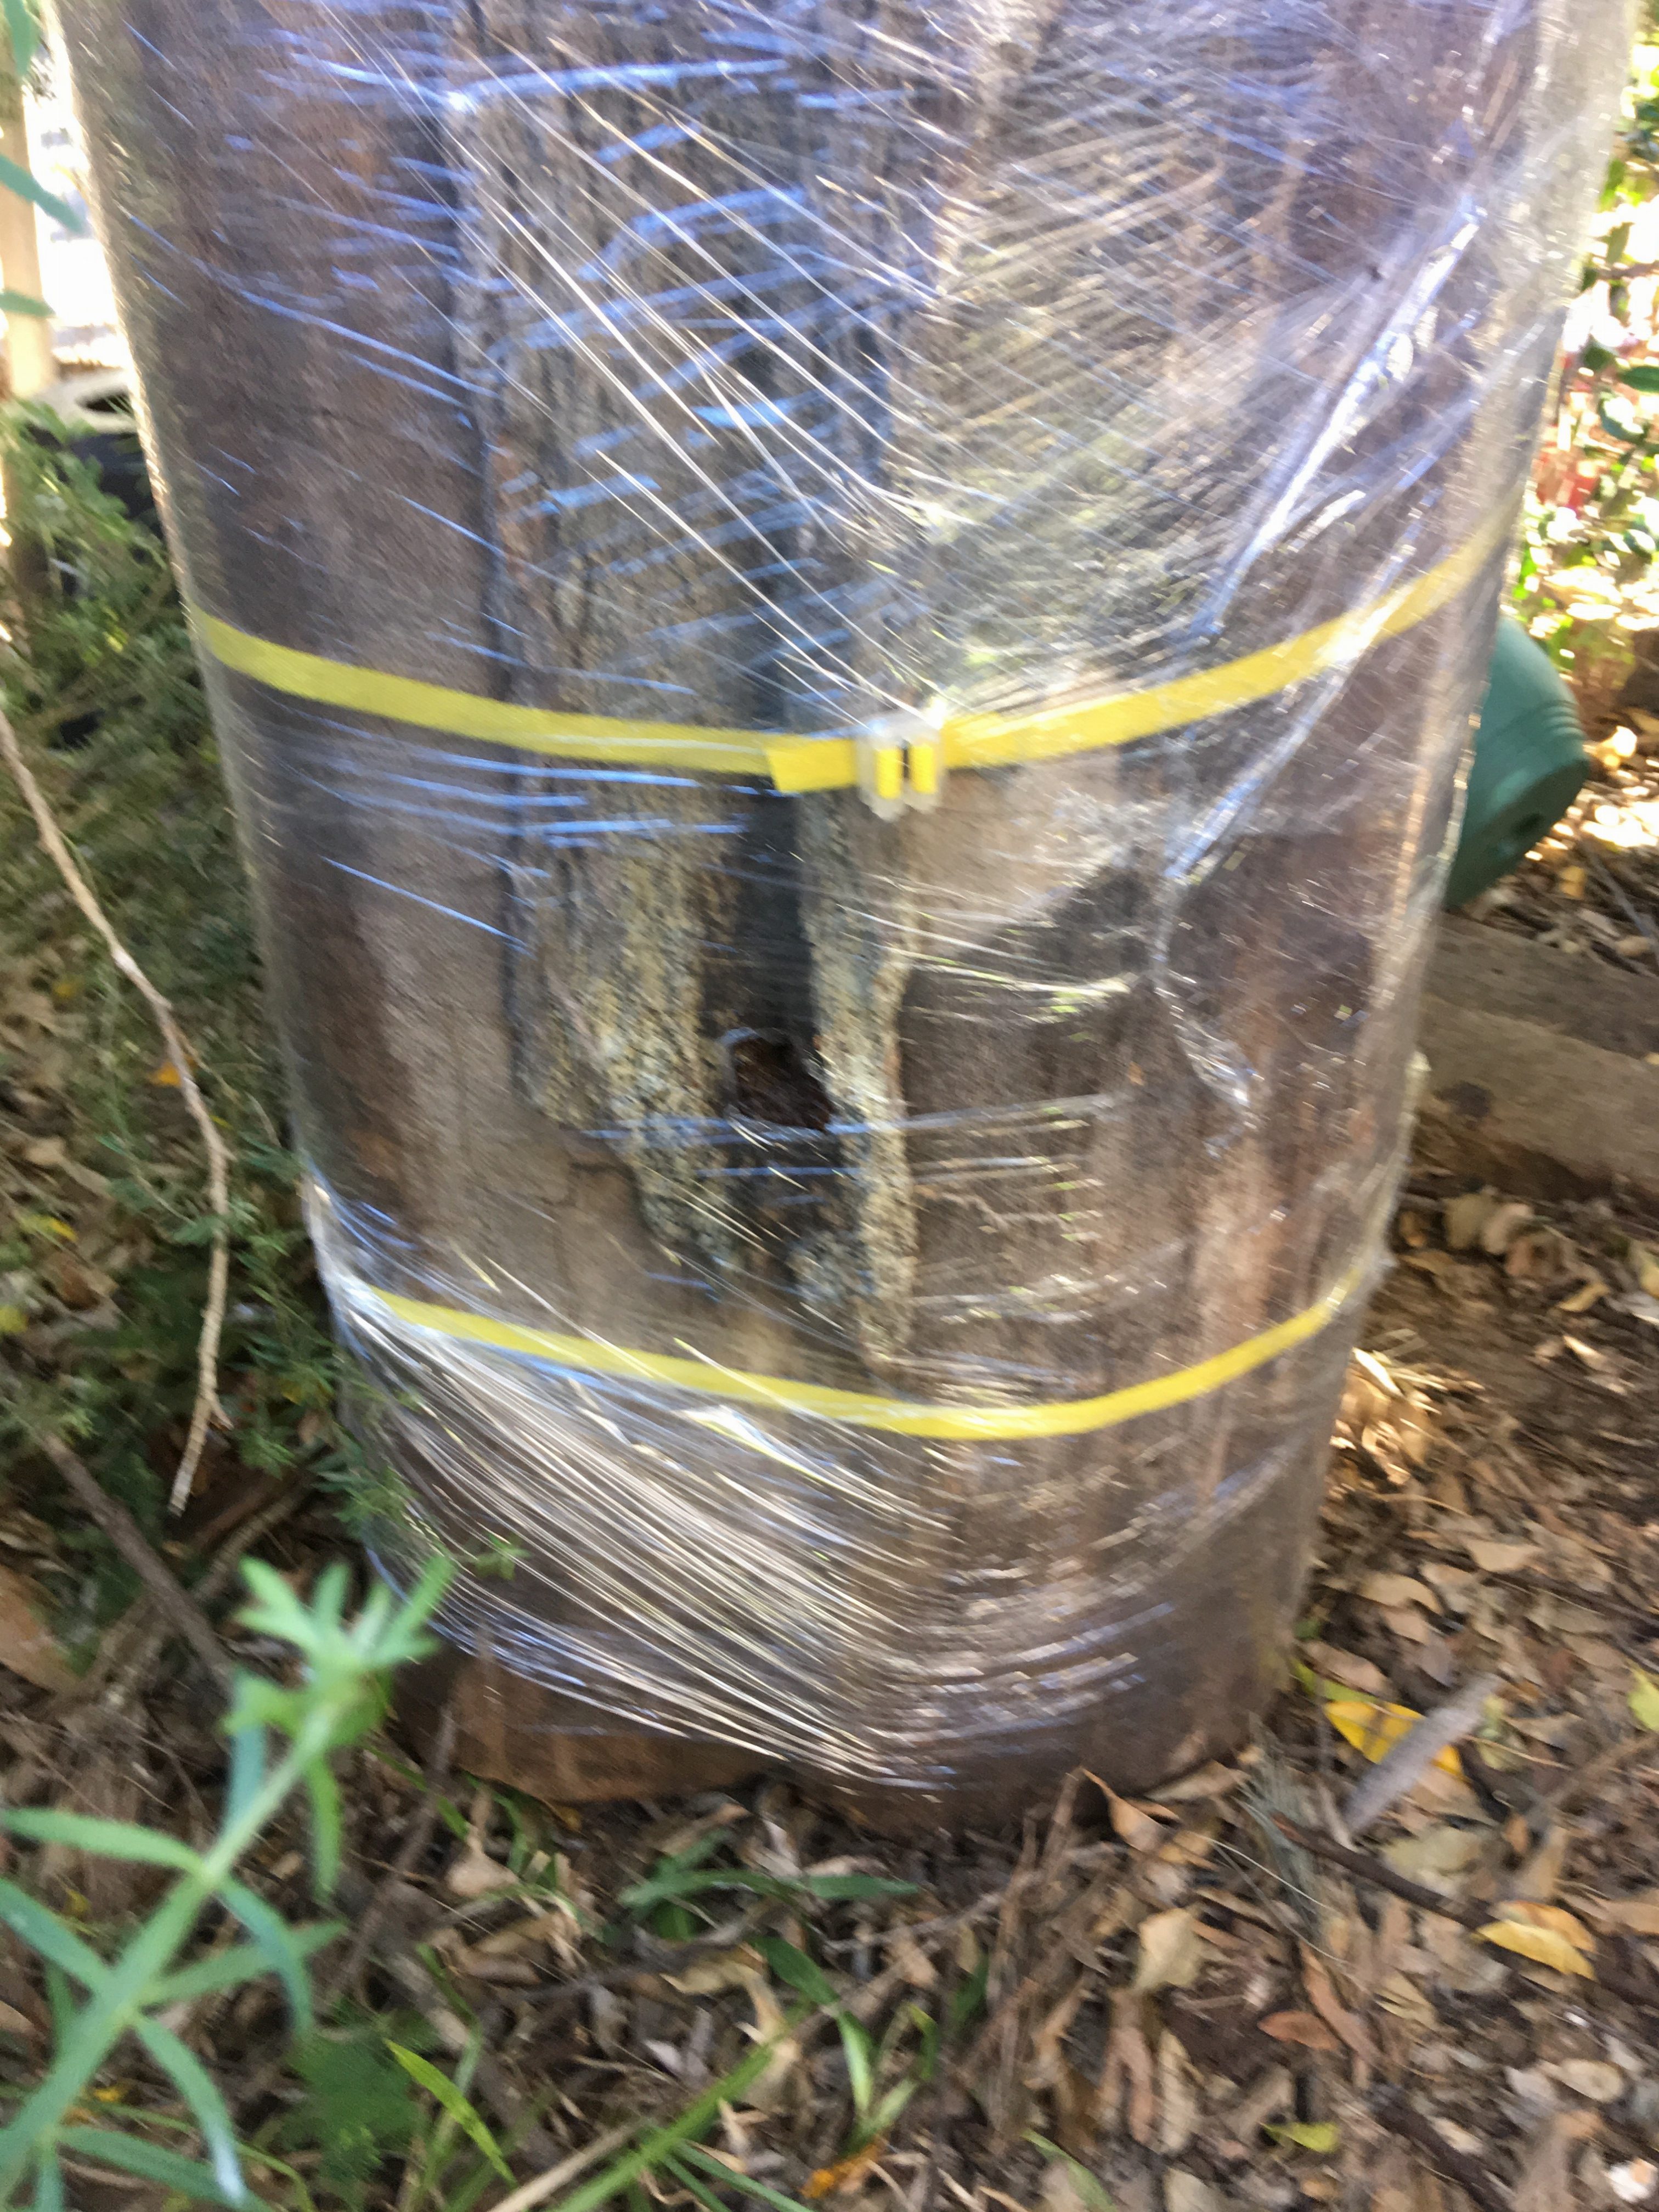
Image 4
Re-joined log secured with straps and wrapped in glad wrap.
Join the log back together , using straps to secure and hold the log together. Generously wrap the hive with glad wrap. Start at the bottom of the log and work your way up to the top of the log , cover over the top part of the log with glad wrap. The log should be encased in glad wrap tight like a “mummie”. Cut through the glad wrap where the old entrance of the log was/is. Place the hive/s and log together in the original place.